

How To Make Criss Cross Porch Railing
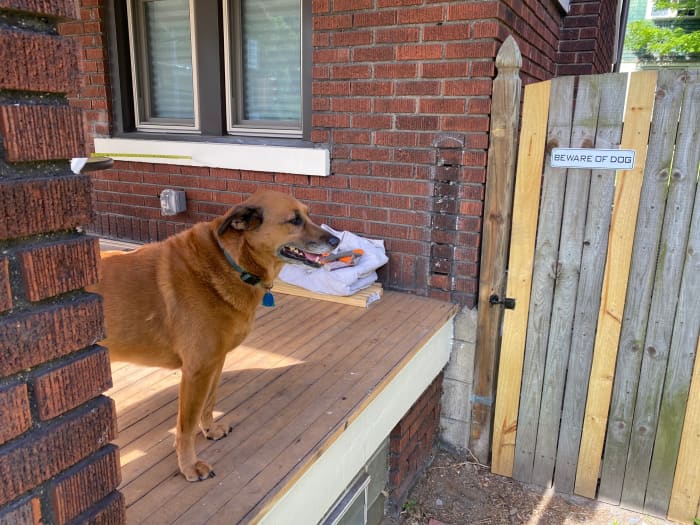
A porch that needs a railing and the globe'due south all-time banana: Ella the Brown Wonder
Tom Lohr
Don't Get Railroaded past Your Railings
My house is nearing its 100th birthday. A firm that quondam goes through several iterations of most items that make a firm: roof, furnace, floor, etc. My porch was looking as its age and needed a facelift.
The deck of the porch had been well preserved by the numerous previous residents. Instead of stripping the electric current coating of paint earlier applying a new one, they just added a new layer, after layer, after layer—then carpet on top of that. While that practice is insane, it did keep the deck wood in pretty good shape. And except for that scorched spot where a homeless person congenital a fire while the property was vacant, stripping and sanding followed by some woods preservative had it looking great. The railings on the other hand were hopeless. There was no way to get all of those coats of paint off of the nooks and crannies of the balusters, and the status of the wood itself was questionable.
Quotes From Contractors Were Heaven High
I figured edifice new porch railings would be a good job to farm out to a contractor. I found a retired carpenter that was guaranteed to be cheaper than someone who relied on carpentry for a paycheck. I got a quote from ii seasoned carpenters, including the retired 1. Both quotes were in the neighborhood of $3K. Yikes! I know a skilled tradesman is hard to come up by these days, simply I have spent less on automobiles.
I Decided to Exercise It Myself
No way my budget would adapt three grand, or even a yard. I took store class as a freshman in high school. So despite non doing any woodworking for decades, I decided to build those railings myself. All of the woods and parts were available at the big box home improvement store. And you know what? While I am sure that the skilled carpenters' work would have been more precise, fancier, and made of higher quality woods, my railings turned out just fine. The fact that they just cost me right at $100 apiece, for a total of $400, fabricated them look fifty-fifty better.
If a math-challenged DIYer like myself tin brand some solid, decent-looking porch railings, you can also. Here is how to tackle the task.
Instructional Overview
Whorl down for more details on each step.
- Gather the tools and materials.
- Lay it all out.
- Cutting the top and bottom rails.
- Cut the balusters.
- Pre-drill holes in railings.
- Pre-drill holes in balusters.
- Attach balusters to the top rail.
- Attach the bottom rail to balusters.
- Examination fit the railing.
- Attach railing hardware.
- Attach railing assembly to posts.
- Do a deflection test.
- Fill in gaps.
- Paint.
The first step in any project is making sure you have what you need to consummate the task. Beneath are the tools and materials I used to build my ain porch railing.
Tools You'll Need
- Tape measure
- Sawhorses
- Circular saw
- Power drill
- Hammer drill (if you are attaching to rock or brick)
- Pencil
Materials You'll Need
- three ½-inch deck screws
- 1-inch deck screws
- Acrylic exterior paintable caulk
- Attaching hardware
- Meridian rail
- Runway shoe (bottom rail)
- Balusters
- Concrete screws (if attaching to brick or rock)
- Scrap 2x4
- Paint
Sawhorses are your friend
Tom Lohr
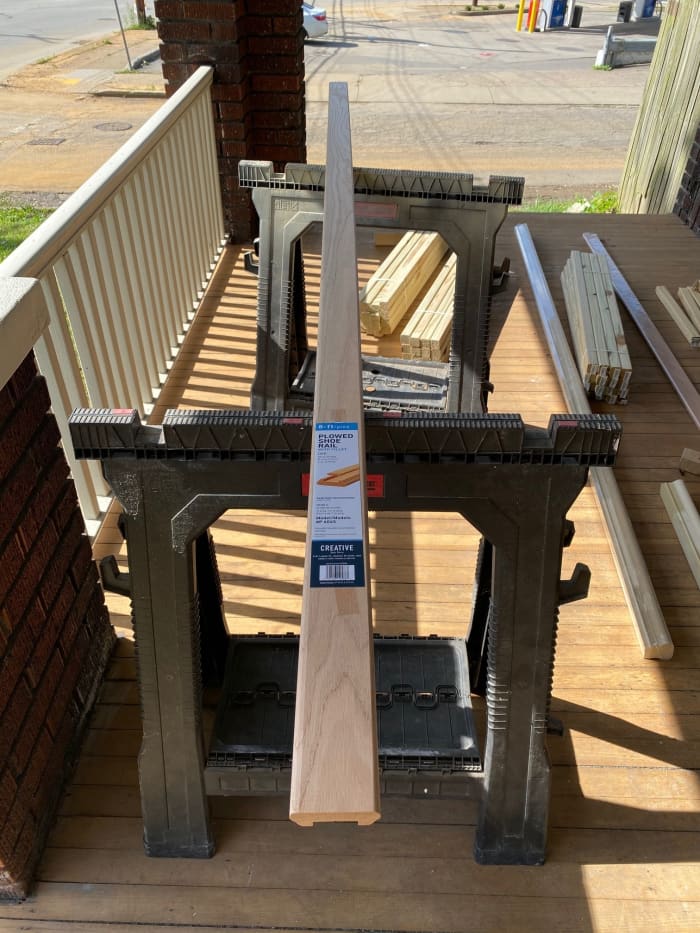
2. Lay It All Out
You are going to demand a decent size work surface area to build these. I built them on my porch. You can build them in your basement, only keep size in mind. Two of my railings were almost eight anxiety long. An 8-foot-long railing, once built in my basement, cannot fit out of the basement (don't ask me how I know this). Everyone has their ain system of organizing their tools. My personal method is called haphazard or advertizement hoc, take your option. Eventually, I volition trip over the tool I need.
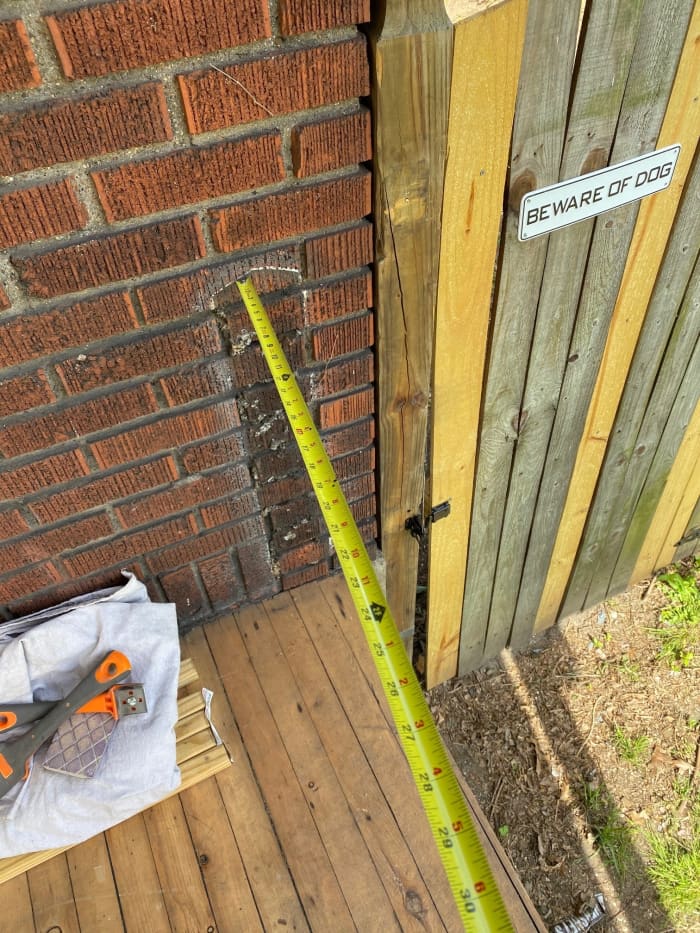
Measure out the distance betwixt the post you will exist mounting the railings to. Subtract for the thickness of your mounting hardware. The ones I used were 1/4 inch each, then I subtracted ane/ii inch from the length of the tiptop rail and shoe. And so subtract at least i/16th of an inch to give you lot room to fit the railing in place (I used 1/8th).
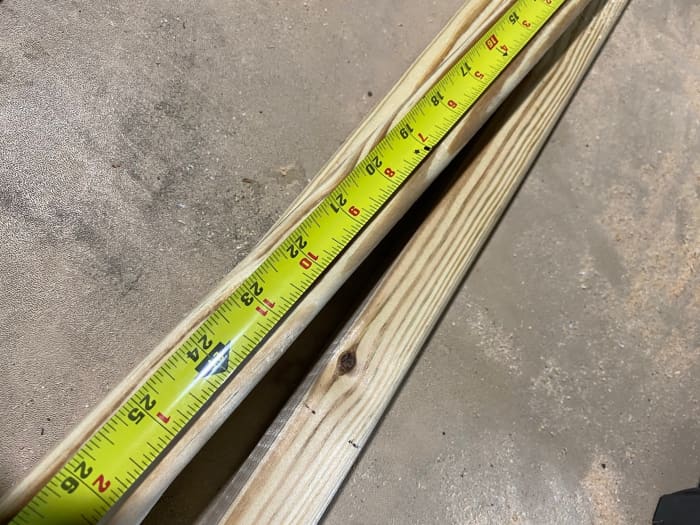
Some math involved
Tom Lohr
3. Cut the Superlative and Bottom Rails
Cutting the shoe, or lesser rail, is a breeze considering it is relatively sparse. The meridian rail is trickier. If you lot have a tabular array saw, it volition make the entire job much easier. I ordered one for my job. It arrived the day after I installed the last railing.
Using a circular saw, fix information technology to the proper depth to cut the top track. Odds are, your saw will not cut that deep, so you will accept to cut the peak runway from the summit and from the bottom. Make certain you mark both sides. My cuts turned out pretty practiced, simply you might want to practice first.
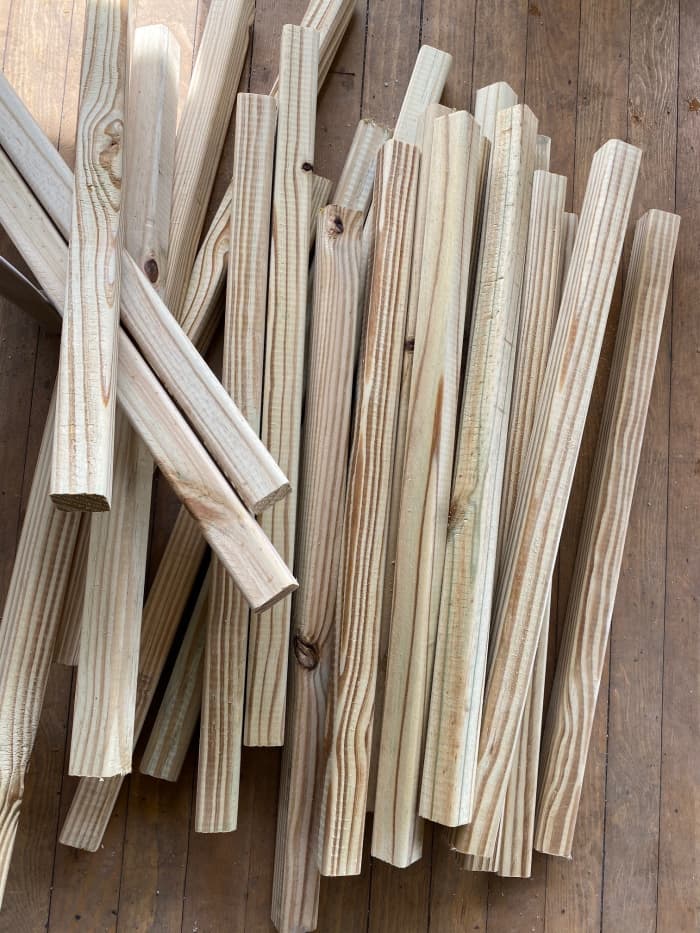
Pile of (nearly) perfectly cut balusters
Tom Lohr
4. Cut the Balusters
There are several types of balusters available at home improvement stores. I chose the square ones, but considering they are easier to cutting and paint, and I don't similar the fancy grooved ones. Cut each to the desired length. The more accurate your cuts the better. If some of your balusters are exact, but a few are an i/8th of an inch off or and so, you are going to have some gaps to fill in with acrylic caulk later. Precision is your friend.
5. Pre-Drill Holes in Railings
You will be attaching the balusters to the elevation and lesser rail. Top rails first, shoe rail last. You would remember that figuring out the spacing to brand the balusters look uniform would exist a daunting mathematical task. Normally, you would be right. Merely fortunately, nosotros live in the 21st century, and in that location is an crawly online calculator that all you have to do is enter the length of the rail, the width of a baluster, and how far apart y'all desire each baluster and it will calculate how many balusters you need and where to place the center of each one along the rails.
I never would accept been able to figure this out without this online tool. Maybe you lot can, but salvage your sanity and employ the estimator. Lay your tape measure along each track and brand a mark where the estimator tells yous to. Every bit a last check before drilling, lay the top and bottom rail side by side to ensure the marks match upwardly.
Pre-drill a minor hole at each mark. Exist careful to drill straight. If you drill even at a slight angle, your screw will follow that path and either punch through the side of the rail, or pull your baluster off-center.
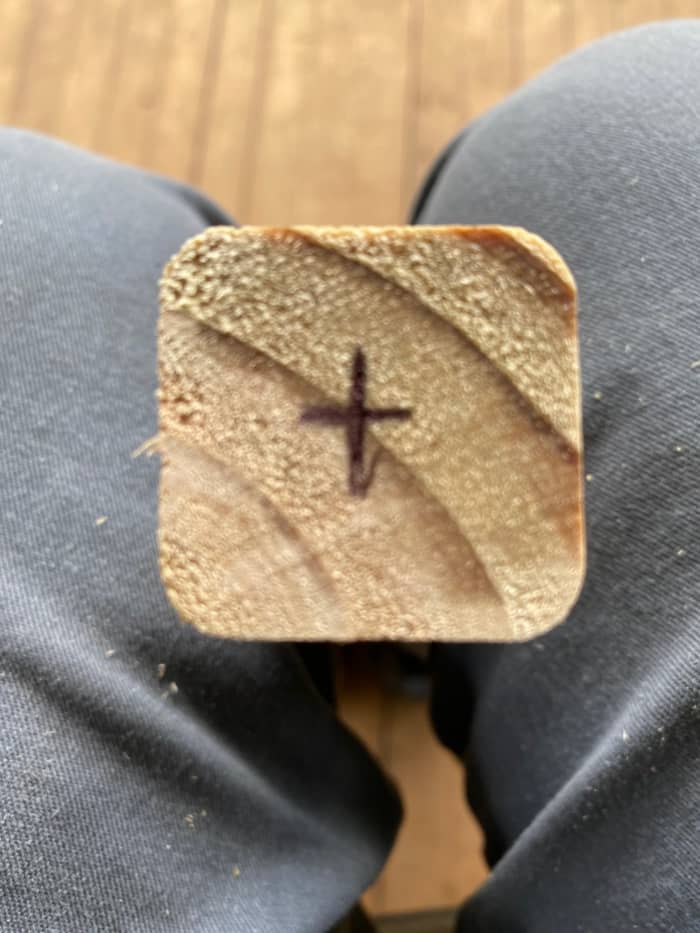
Dead heart
Tom Lohr
6. Pre-Drill Holes in Balusters
Find the center of each baluster and drill a minor pigsty, just like in the railings. Drilling direct is equally important in this step. Also, turn on some music. Each of my railings used 25 balusters; you need to drill a hole in each end. This step volition take a while.
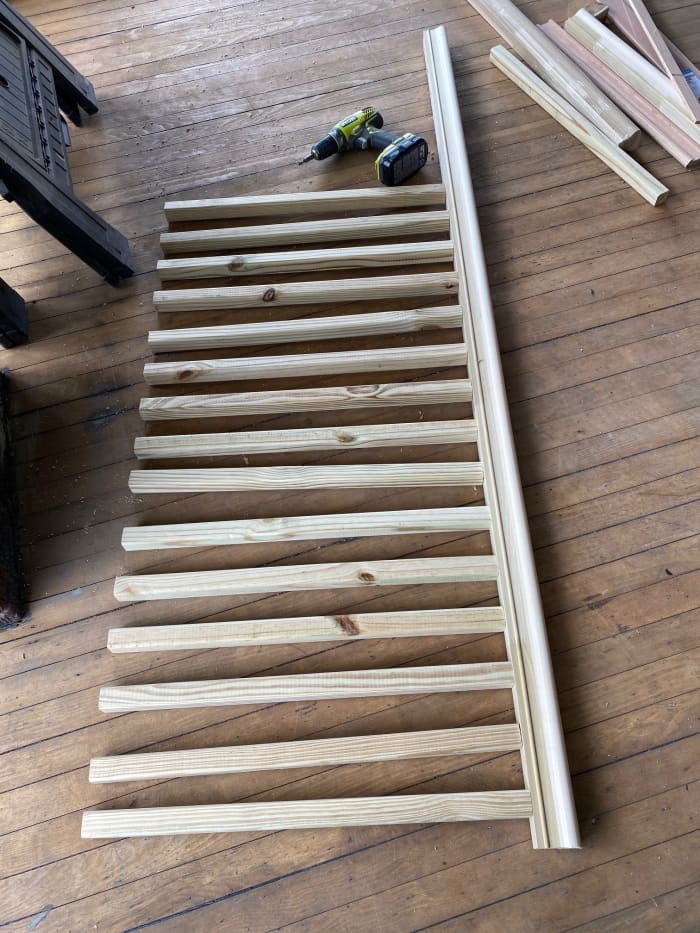
Pinnacle rail with balusters attached
Tom Lohr
7. Attach Balusters to Top Rail
Lay the pinnacle rail on the basis on its side. If you lot use a sawhorse, the weight of the baluster volition bend and possibly interruption at the attachment point. While the length of your screw might vary, I needed three 1/2-inch screws to sufficiently adhere the balusters to the thick meridian rail.
Start the spiral into the acme runway and spiral information technology in until the point is barely poking out of the bottom of the top rail. Align the hole in the baluster with the screw (the point in the hole will help ensure the baluster is centered). Use a ability drill until the baluster is snug against the underside of the elevation track and the screw is slightly countersunk. The drilling may twist the baluster some, you tin can twist information technology back with your hand. Repeat for all balusters.
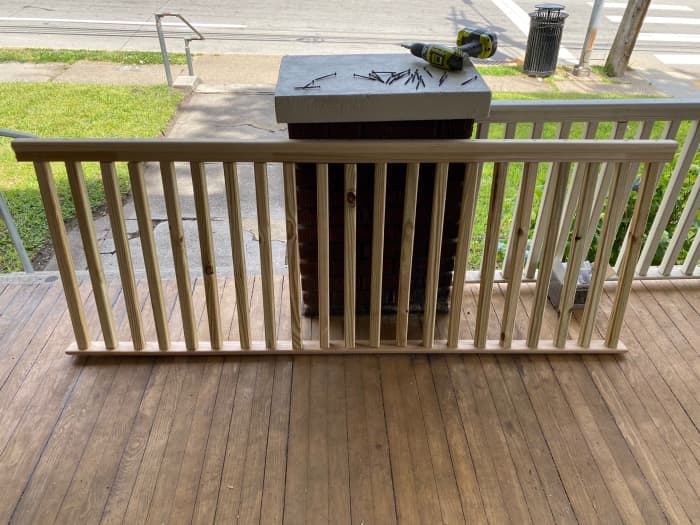
Finished railing assembly
Tom Lohr
8. Adhere Bottom Rail to Balusters
With the balusters now firmly attached to the top runway, keep the railing on its side and line the bottom rail up with the balusters. Repeat the previous step for the bottom rail (using the shorter screws). Your railing assembly is at present complete. Stand up dorsum and admire your work.
ix. Test Fit the Railing
Measure how far off of the porch deck yous want your lesser rail to be. Cut several small blocks that length off of your bit 2x4. Position one at each end where the railing will adhere to newell posts or other textile, and 1 in the middle. Fix your railing associates on peak of the blocks and check for fit. There should exist a slight gap on each end. Once the railing is aligned, slide the attaching holders into the gaps. The fit should exist snug or slightly loose. Lay the railing assembly back on the deck.
ten. Attach Railing Hardware
Screw the attaching hardware to the ends of the top and bottom rails of the assembly. Ensure that the heads of the screws are affluent. Fifty-fifty a modest protrusion from the surface of the behind of the hardware will make installation difficult. If attaching to brick, rock, or concrete, use a hammer drill to pre-drill holes for the concrete screws.
Hopefully, y'all measured correctly
Tom Lohr
11. Adhere Railing Assembly to Posts
Identify the railing assembly back onto the 2x4 blocks and bank check for level. If y'all live in an old house, level might non actually wait level. Use your eyeballs for a cosmetic check. It's better that it looks level than really be level.
Once it looks level, spiral all iv ends into whatever is holding your railing via the mounting hardware. Use at least two screws on each stop.
12. Exercise a Deflection Test
If you have a long railing, push slightly down in the middle. If it feels like it needs some extra support, cut i of the 2x4 blocks to size and screw it onto the centre of the bottom rails then that it provides more support in the centre. FYI, according to safety codes, your railing should back up at to the lowest degree 200 pounds without bending or breaking.
13. Fill in Gaps
If your baluster cuts were less than precise for each and every baluster, you are going to have some slight gaps at the pinnacle or bottom of a few of them. Fill with paintable acrylic caulking.
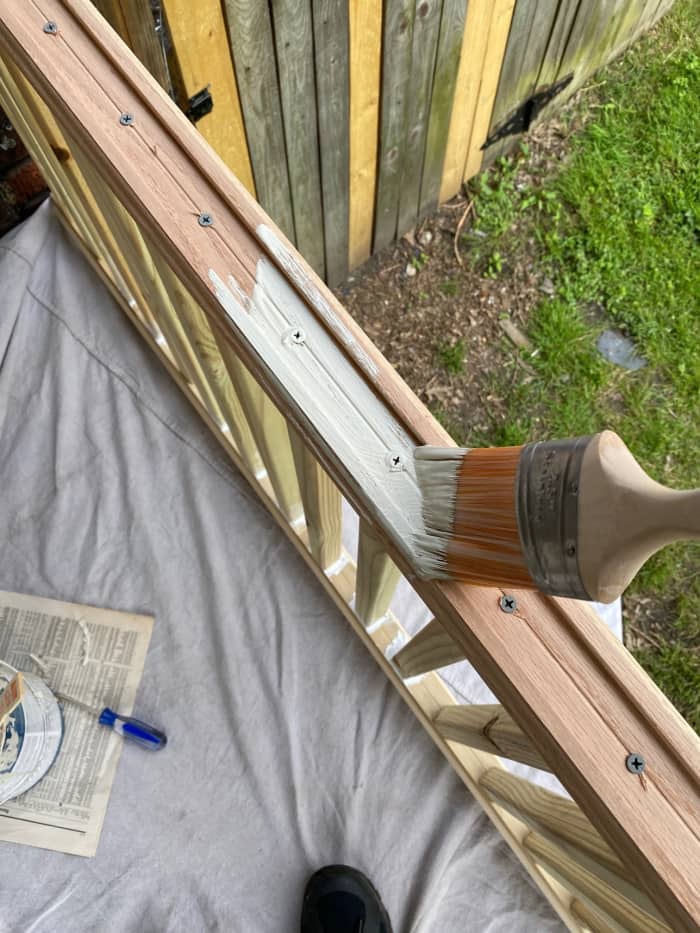
Not for the color analogous challenged
Tom Lohr
xiv. Paint the Railings
This is probably the worst part. It'southward irksome painting effectually all of those balusters. Painting the parts before assembly doesn't actually assistance. Yous tin can use wood make full to fill in the countersunk screws on the summit rail if y'all desire a smoothen surface. I just painted over them. Apply loftier-quality exterior pigment; you don't want to have to do this again for a very long time.
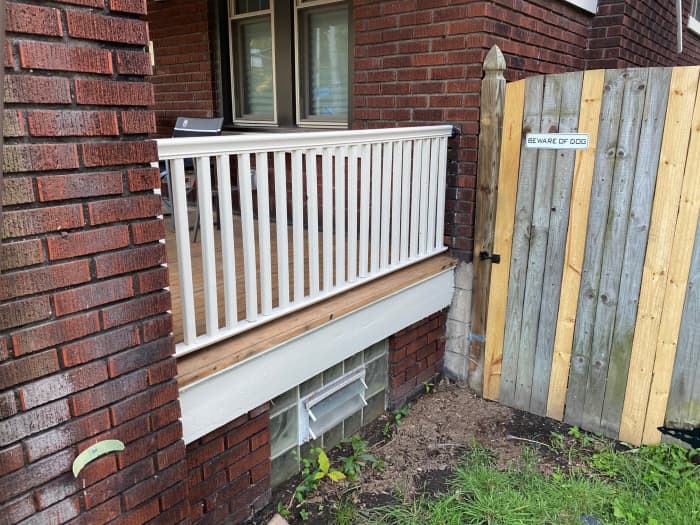
Finished product
Tom Lohr
End by Feeling Your Wallet Getting Fatter
It's actually that simple. Will information technology wow anyone who is bored enough to audit my porch railings? No. Will it print contractors or carpenters? No. Will information technology look good, serve its purpose and relieve me a mint? Absolutely. Building my own railings saved me about $ii.5K. That's real money in my book. You lot can supplant your furnace with the savings. Or better nevertheless, buy a badass table saw for your adjacent project. Whichever you choose, be sure to accept some photos, and and then send them to any carpenters that gave y'all an outlandish quote.
This content is accurate and true to the best of the writer's knowledge and is not meant to substitute for formal and individualized advice from a qualified professional.
Source: https://dengarden.com/decks-patios/How-to-Build-Your-Own-Porch-Railings
0 Response to "How To Make Criss Cross Porch Railing"
Post a Comment